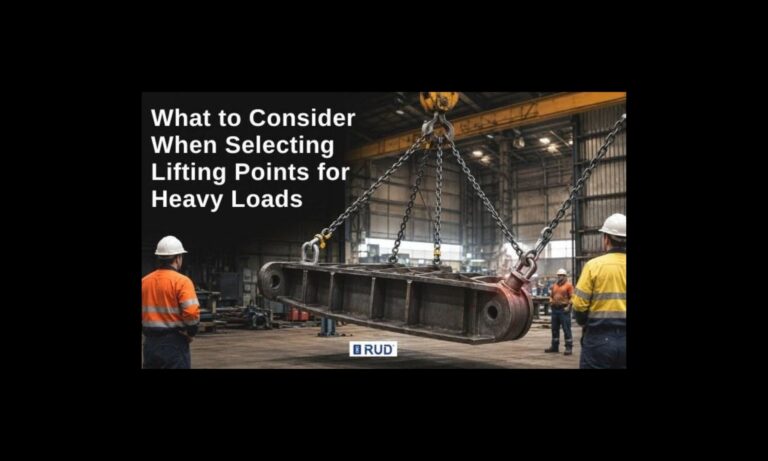
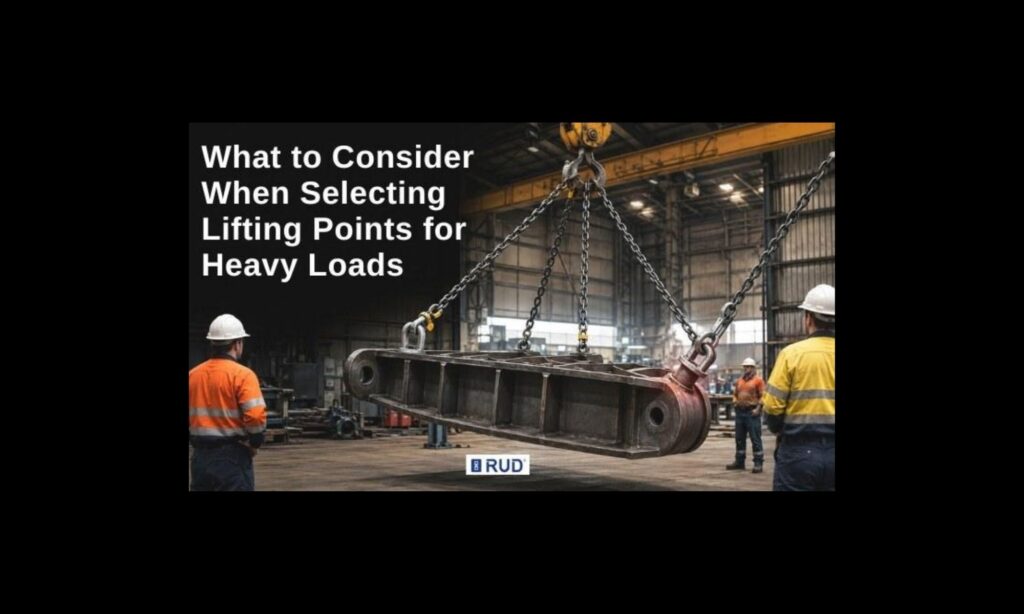

What to Consider When Selecting Lifting Points for Heavy Loads
Selecting lifting points for heavy loads comes down to four factors. You need to match the load’s weight, its centre of gravity, the sling angle at each attachment, and the type of connection your application requires.
Get any one of those wrong, and you’re looking at equipment damage, downtime, or a serious safety incident. If you’ve ever had a multi-tonne component shift mid-lift because the attachment couldn’t handle the angle, you already know how fast things go wrong on site.
We’re rud.com.au, part of the RUD Group from Germany with over 150 years in chain technology and lifting solutions across industries worldwide.
In this article, we’ll cover:
- Why lifting point type affects load stability under angle
- What Australian standards require for compliance and documentation
- How the rigging chain works as one rated system
- How load restraint affects lifting point selection
Read on to find out what you should check before your next heavy lift.
Why the Wrong Lifting Points Fail Under Load
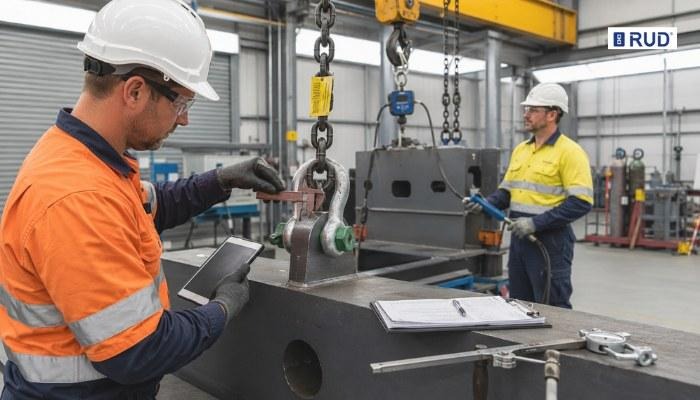
Lifting points fail under load when the attachment type doesn’t match the pull direction, sling angle, or rigging configuration of the lift. The reason is simple mechanics. A rigid eyebolt rated for vertical pulls will bend or snap the moment you apply a side load or angled sling force.
Each lifting point type handles directional force differently, and choosing the wrong one puts your entire lift at risk:
- Rigid Eyebolts and Weld-on Lifting Lugs: These only support straight, vertical pulls. They can’t rotate or adjust to angled forces, so any side loading puts stress on the bolt shank or weld joint in ways they aren’t rated for.
- Rotating Load Rings: The ring self-aligns in the direction of pull during multi-leg lifts. This makes them a safer option for equipment that gets lifted at varying angles or with different sling configurations.
- Boltable vs Weldable Points: Boltable lifting points suit moulds, jigs, and tooling that need repositioning between jobs. For permanent structural installations, weldable points are the better option because the attachment stays fixed for the life of the equipment.
Sling angle adds another layer. At 60°, each sling leg loses around 14% of its rated WLL (Working Load Limit). If it drops to 45°, you’re down 29%. That capacity loss adds up quickly in a 4-leg sling setup, and teams don’t always account for it when planning a lift.
What Australian Standards Require for Lifting Point Compliance
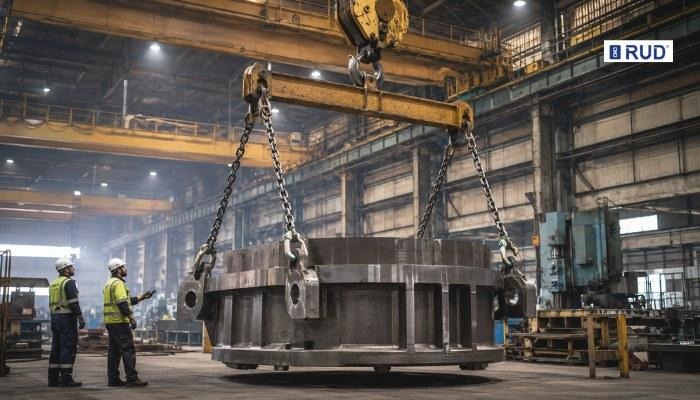
Compliance with Australian lifting standards gives you audit-ready documentation, reduced liability, and confidence that every lift on your site meets WHS (Work Health and Safety) duties. If your lifting equipment isn’t designed, tested, and documented to the right standards, you carry risk that no insurance policy will cover.
Three standards apply directly to lifting point selection, and each one covers a different part of the rigging chain.
AS 4991: Lifting Devices
AS 4991 covers the design, manufacture, and testing of lifting devices that connect to a crane hook. That includes spreader beams, lifting frames, and below-the-hook equipment like hoists and custom rigging.
Every device must hold a proof load of twice its WLL before it receives certification. An engineer or competent person must verify the design before fabrication begins. On top of that, all welding needs to meet AS 1554.1 SP (structural purpose) quality control requirements.
AS 3775: Chain Slings
This standard covers the inspection, grading, and safe operation of chain slings used with lifting points. Your slings need to be inspected and assessed by a competent person at documented intervals, with full traceability back to each individual item.
Any chain sling that shows signs of stretch, wear, or deformation beyond the manufacturer’s limits must be removed from service immediately. The standard also sets out how sling WLL changes based on the number of legs and the sling angle.
WLL vs SWL: Which Term Applies Now
WLL (Working Load Limit) has replaced SWL (Safe Working Load) under current Australian standards (though you’ll still see SWL stamped on older equipment across plenty of sites).
Safe Work Australia’s general guide for cranes and the NSW Government’s dogging and rigging guide on sling selection both reference WLL as the correct term. If your site still uses SWL on load tags, inspection reports, or lift plans, it’s worth updating that language to stay aligned with current WHS regulations.
What Inspectors and Auditors Look For
Competent person inspections, proof-load testing records, and certified records form the minimum requirement under WHS regulations. Auditors will ask for these records, and they expect to see:
- Proof-load test certificates for every lifting device
- Individual identification and traceability for each lifting point, sling, and shackle
- Documented inspection schedules with dates, findings, and sign-off by a competent person
- Evidence that any defective equipment was removed from service and tagged out
Without this documentation, your site faces enforcement action, stop-work notices, or liability exposure in the event of an incident.
The Full Rigging Chain from Lifting Lug to Spreader Beam
The lifting lug, chain sling, and spreader beam form one connected system. What determines the overall WLL of that system is the weakest rated component in the chain. If your lifting lugs are rated to 10 tonnes but the chain sling between them is only rated to 8, you’ve got an 8-tonne operation, no exceptions.
The problem is that a lot of teams assess each component individually and assume the lift is covered. But the full rigging chain needs to be rated as a single unit, and missing that step has caused dropped loads, tipped components, and sling failures on sites across Australia.
Three factors influence how that rigging chain performs: chain grade, spreader beam configuration, and environmental conditions at the lift site.
How Chain Grade Affects the Rigging System
Chain grade determines the WLL, weight, and durability of every sling in your rigging setup. RUD manufactures its chains in Grade 100 (VIP) and Grade 120 (ICE) configurations. The difference between the two has a direct impact on how your crew handles the sling on-site.
The reason for this difference is the sling’s weight. Grade 120 chain delivers the same WLL as Grade 100, but at a lighter overall sling weight. For lifting crews working in confined spaces or rigging repetitive lifts across a full shift, that weight reduction makes a noticeable difference in handling and fatigue.
You’ll still find Grade 80 chain on plenty of older Australian sites. The catch is that Grade 80 requires a thicker link to achieve the same rated capacity, which adds bulk and makes the sling harder to manoeuvre in tight setups.
So if you’re still running Grade 80 slings, it’s worth comparing them against Grade 100 or 120 options from the RUD chains range.
Why Spreader Beams Change the Load Path
A spreader beam sits between the crane hook and the lifting points to control how force distributes across the load. Without one, a wide or long load forces the sling legs into steep angles. And as we covered earlier, steep angles reduce WLL per leg.
Spreader beams also prevent inward crushing forces on loads that can’t handle compression, like pre-cast panels, tanks, or thin-walled fabrications.
RUD Australia engineers and manufactures custom spreader beams to AS 4991 at the Brisbane facility. Each beam is designed, tested, and delivered to suit the specific load geometry of your project.
Temperature and Environmental Derating
Heat is one of the most overlooked factors in lifting point selection, and we’ve seen it catch experienced teams off guard. Welding near a lifting point, furnace operations at a power station, or high-ambient temperatures in underground mining can all reduce rated capacity without leaving any visible surface damage.
One way to stay ahead of this is through derating charts. Most lifting point manufacturers publish these charts to show how WLL drops at elevated temperatures. For instance, at 200°C, some grades of steel lose up to 10% of their rated capacity. But at 300°C, that figure can climb to 25% or higher.
If your operation involves material handling near heat sources, you need to factor temperature into every lift plan. Our in-house engineers can advise on the correct derating values for each lifting point in the range.
How Load Restraint and Material Handling Fit into Lifting Point Selection
Once your load is off the crane hook and sitting on a transport frame, you still need those attachment points to perform. The lift itself might be over, but the risk of load shift during transit is just as serious as anything that happens under the crane.
This is a step that gets missed often. Teams focus on the vertical lift, complete it safely, and then strap the load down using whatever tie-down points are available on the truck or trailer.
Some lifting points are engineered for both vertical and horizontal restraint. If yours carry that dual rating, you can use them as lashing points for transport without welding on secondary anchors. Some of RUD Australia’s boltable lifting points are designed for exactly this purpose.
The main advantages of dual-rated lifting and lashing points include:
- Two Functions with One Attachment: Each point carries a rated WLL for both lifting and lashing, so one attachment does two jobs. For operations that move heavy equipment between workshop and site regularly, that dual rating saves time on every load cycle.
- No Secondary Fabrication: You avoid the cost and delay of welding additional tie-down anchors onto your transport frames. That also removes the risk of heat-affected zones near structural welds on the frame itself.
- Simplified Inspection and Documentation: One set of certified attachment points to inspect, test, and document instead of two. Your compliance records stay cleaner, and audits become quicker to prepare for.
Tyre protection is another factor worth considering around lift zones. On mining sites and in quarry operations, loaders and haul trucks operate on rough ground during material handling. In fact, one of the biggest causes of downtime in these environments is tyre damage.
One way to prevent that is by fitting chains to your tyres. These reduce the risk of punctures and sidewall damage that can shut down a machine mid-shift. If you’re running material handling equipment near active lift zones, that downtime flows straight back into your rigging schedule.
Get Your Lifting Point Selection Right the First Time
Treat your lifting points, chain slings, and spreader beams as one rated system. Also, assess the full rigging chain together and factor in your sling angles. From there, confirm that every component has been inspected, tested, and documented to Australian standards.
For operations that move loads from crane to transport, plan your lashing and load restraint at the same time as your lift.
RUD Australia‘s team of in-house engineers at the Brisbane facility can help you select the right lifting points, RUD chains, and engineered services for your next project. Get in touch to talk through your requirements.